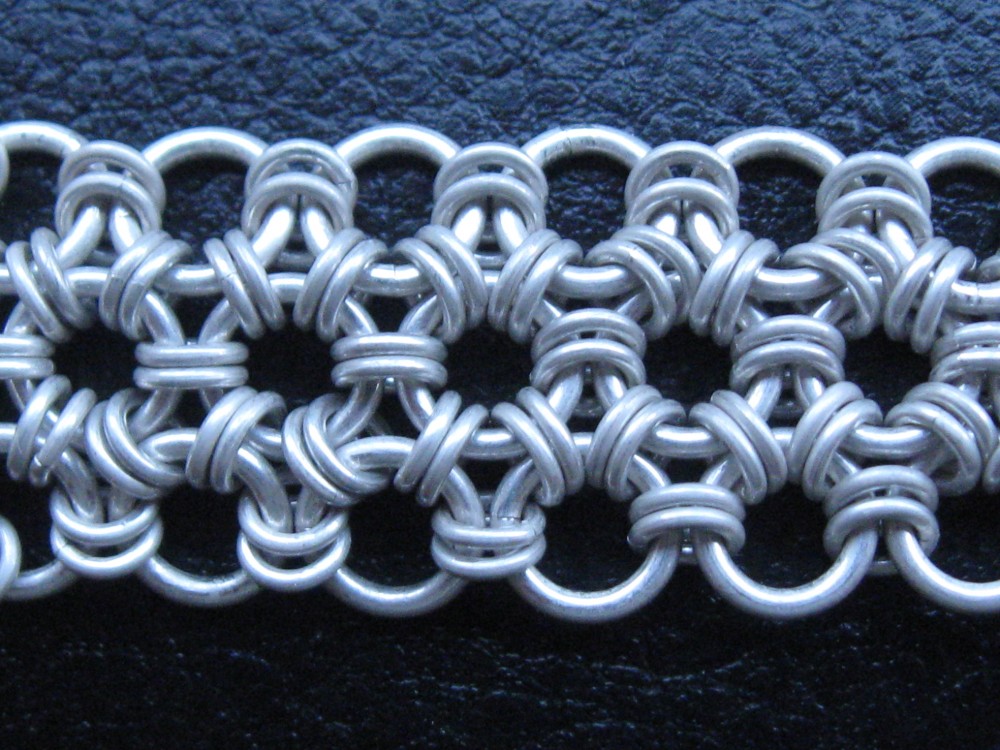
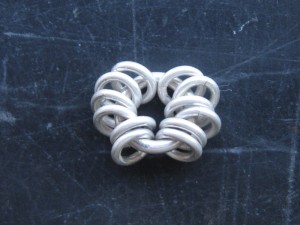
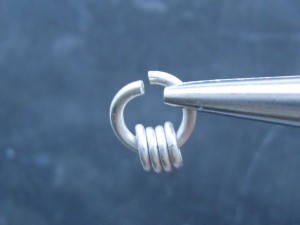
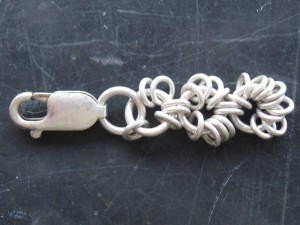
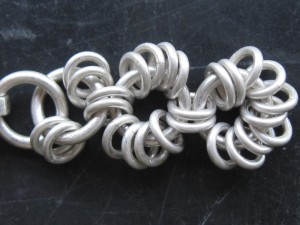
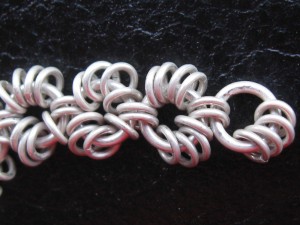
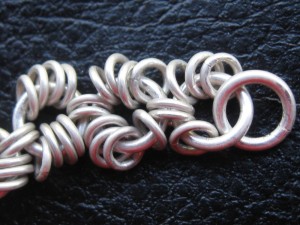
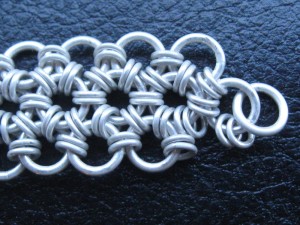
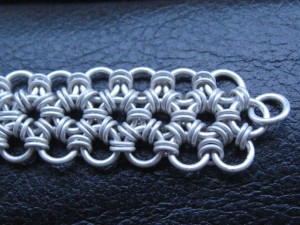
The goal of this tutorial is to explain how to make the Japanese 12 in 1 chainmaille weave.
Using this tutorial you can also do the Japanese 12 in 2 chainmaille model, but the aspect ratio (AR = the inner diameter – ID divided by the wire diameter – WD) will differ.
You can start in multiple ways – either with the big rings closed and the small ones opened, or inverse, or using the free style (opening and closing each ring at its time).
The small rings, when closed, tend to be deformed by the opposition made by the rings inside of them. Because of this I prefer to carefully pass opened big rings through closed small rings as method, like you will see in this tutorial.
1. Required Tools and Materials
For this tutorial you will need:
- big rings with an aspect ratio of ~4,2 and small rings with an AR of ~3,15
- two pairs of pliers without teeth
I used:
- big rings with a wire diameter of 1,10 mm and an inner diameter of 4,60 mm
- small rings with a wire diameter of 0,75 mm and an inner diameter of 2,35 mm
2. Step by Step Process
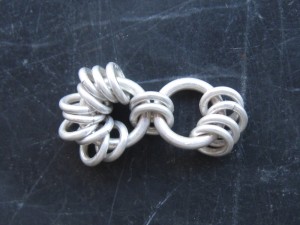
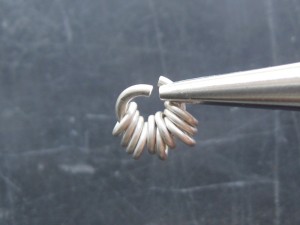
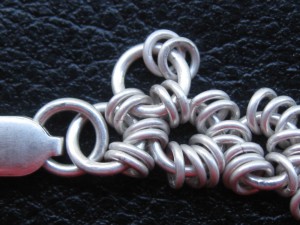
Start by placing 12 small closed rings in one opened big link and close it. This is your first 12 in 1 piece:
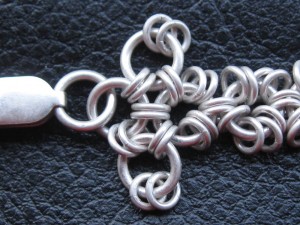
Put 4 small closed rings in one opened big link.Then pass the big ring through 2 small rings from the previous 12 in 1 piece. Close it:
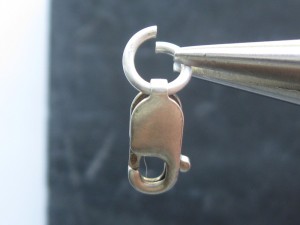
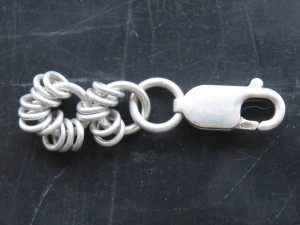
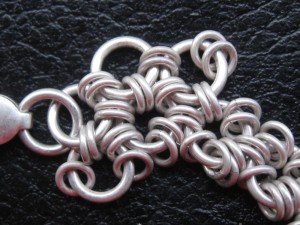
Next place the clasp in one big opened ring. Pass the big link through the previous big ring:
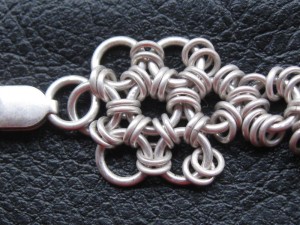
Now put 10 small rings in one big opened ring. Then pass the big link through 2 small rings from the previous 12 in 1 piece:
Observe in the picture below that I choose the 2 small rings so that I can equally separate the remaining rings, having 4 above and 4 below:
Now you have a second link with 12 small rings in it. This links are the backbone of the bracelet. You will continue to repeat the step – the attachment of a big link with 10 small rings from the previous one. Don’t forget to equally separate the small rings.
When you are 1 cm from the desired length attach one big ring with 4 small rings from the previous big link:
Finish the backbone of the bracelet passing a big ring through the previous big link:
In this chainmaille model the big rings are linked to each other with the help of pairs of small rings, 2 for each big link.
Place 2 small rings in a big one and go back at the beginning of the bracelet. Then connect it with the 2 big rings from the picture, passing through the 2 pairs of small rings located inside of them, choosing the most accessible ones:
Repeat the step on the other side:
Now put 2 small rings in a big one and link it with the neighboring 3 big rings. For this you will go through the pairs of small rings of each one, a total of 6 links:
Repeat the step on the other side:
Continue repeating the steps until you reach the last big rings.
Now pass a big link going through the remaining small rings, connecting it with the other big rings:
And finish by repeating the step on the other side:
3. Conclusion
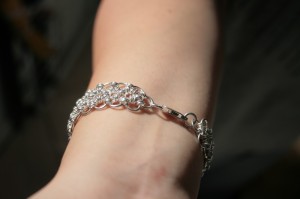
Here is a fine silver Japanese 12 in 1 bracelet:
For the full piece, you can check out my Etsy store.
