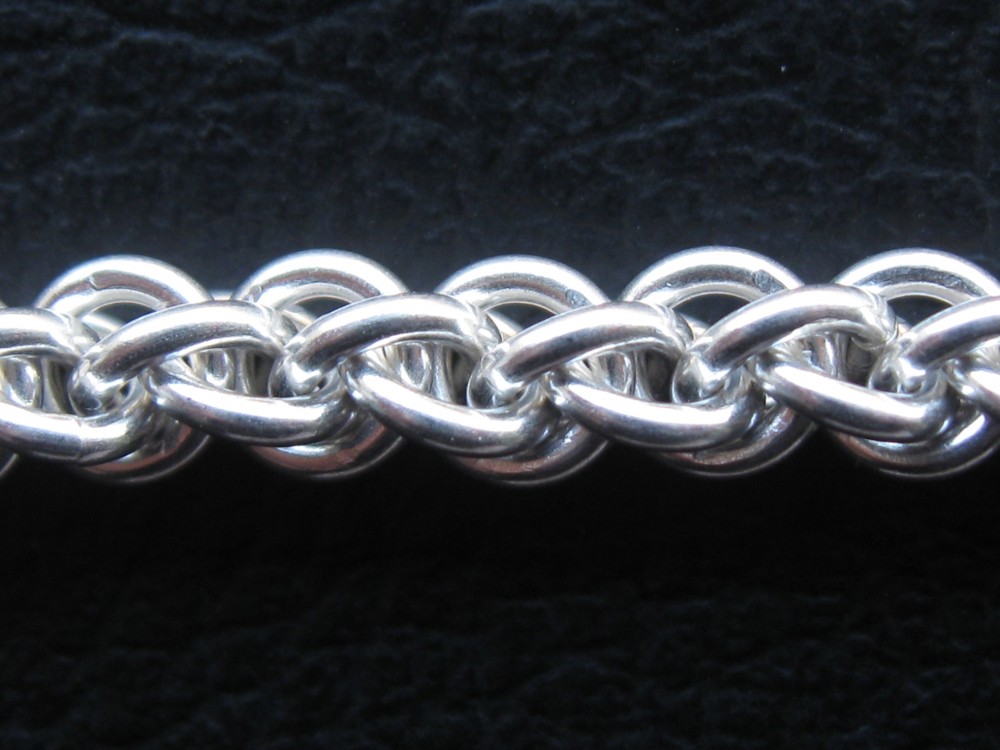
The goal of this tutorial is to explain how to make the jens pind weave. Continue reading Jens Pind Chainmaille Tutorial
Tag: tutorial
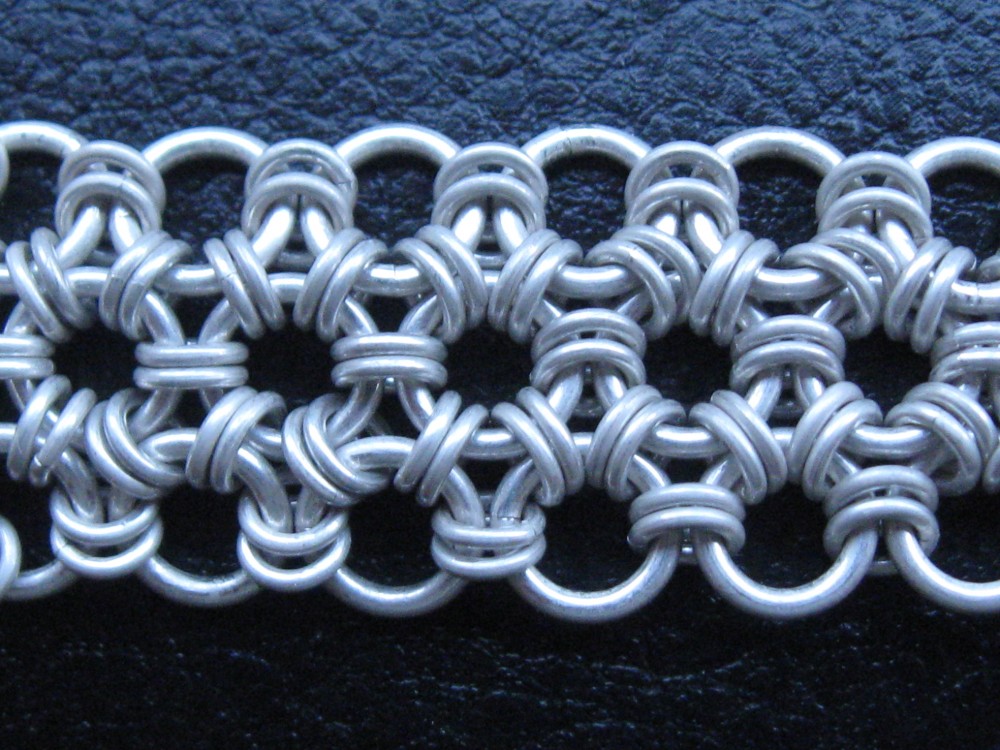
Japanese 12 in 1 Chainmaille Tutorial
The goal of this tutorial is to explain how to make the Japanese 12 in 1 chainmaille weave. Continue reading Japanese 12 in 1 Chainmaille Tutorial
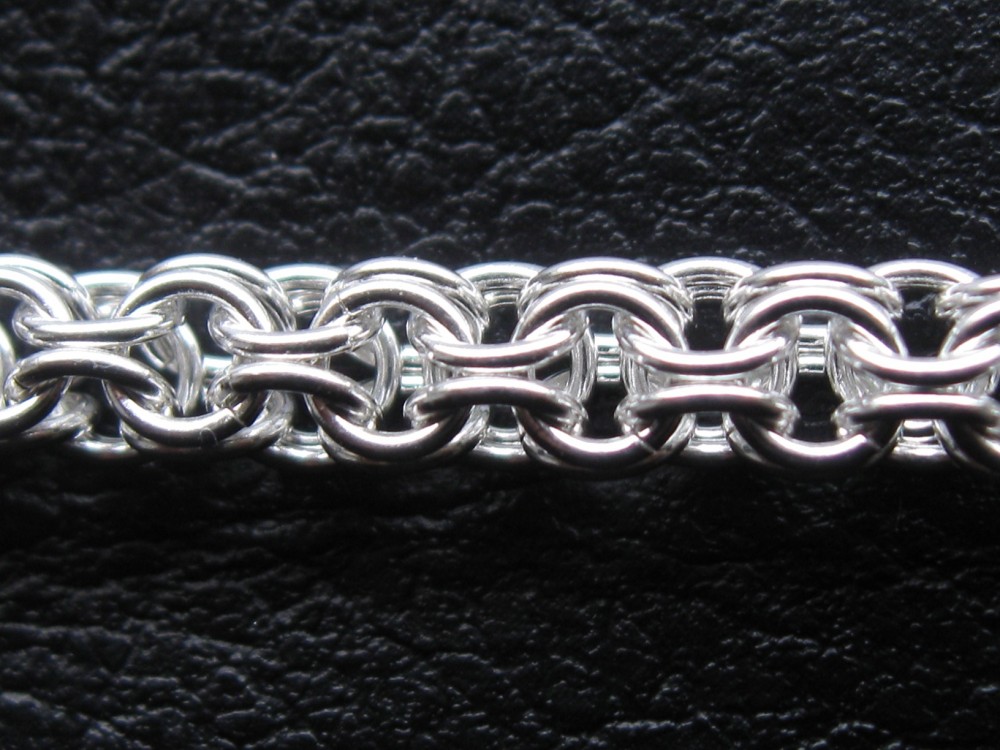
Inverted Round Tutorial
In this article we will look at the inverted round chainmaille bracelet. Continue reading Inverted Round Tutorial
Box Chain Tutorial
I will show you two methods for the making of this weave. Continue reading Box Chain Tutorial
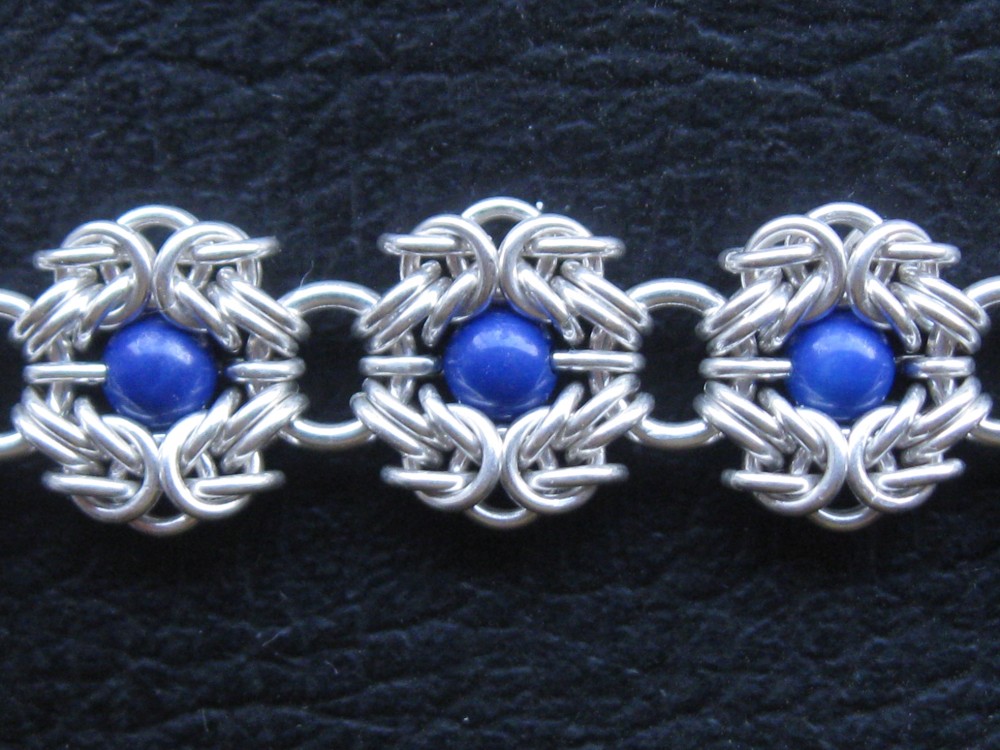
Romanov Tutorial
Romanov is a byzantine variation with beads between the segments. Continue reading Romanov Tutorial
Full Persian 6 in 1 Tutorial
1. Required Tools and Materials
For this tutorial you will need:
- rings with an aspect ratio (AR = inside diameter – ID divided by the wire diameter – WD) of ~ 5.5 and up
- two pairs of pliers without teeth
I used rings with a wire diameter of 0.90 mm and an inner diameter of 5.10 mm.
2. Step by Step Process
Put 4 closed rings into one opened ring:

Close the ring and add another ring near him, going through the 4 rings:

Arrange them into a 2-2-2 chain:

Spread the rightmost 2 rings apart, as in the picture:

Pass an opened ring through the rings you’ve just unfold, going above the middle links and through through the leftmost ones. And close it :


Flip the piece over, on the other side, and add another ring, going the same as before:

Now spread the rightmost rings and slide another one in between them, through the “V” ones:

Add another ring near the last one, repeating the step:

Pass a ring through the last ones and through the “V” links:

Flip over the piece, on the other side, and repeat the step:

Again you spread the rightmost rings and slide 2 more rings in between them:

And the steps that follows, on each side:


Consider the spreading and adding step, followed by the rings on each side, as a cycle. And continue to repeat it:

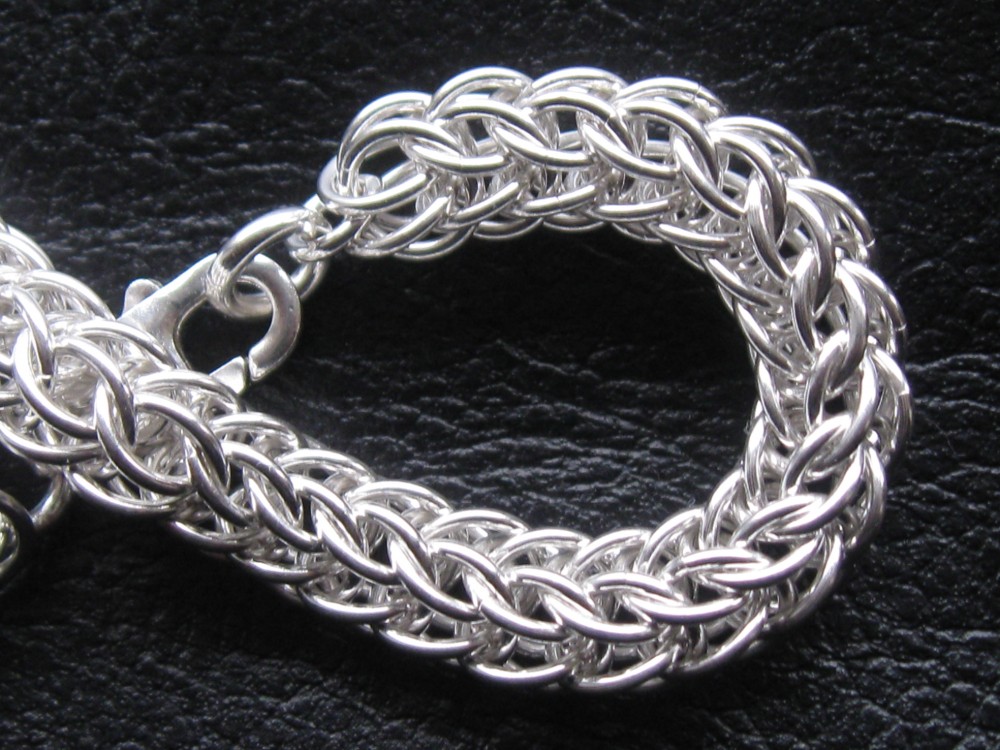
3. Conclusion
Here is a fine silver full persian bracelet:


For the full model in the store, check out my Full Persian on Etsy.
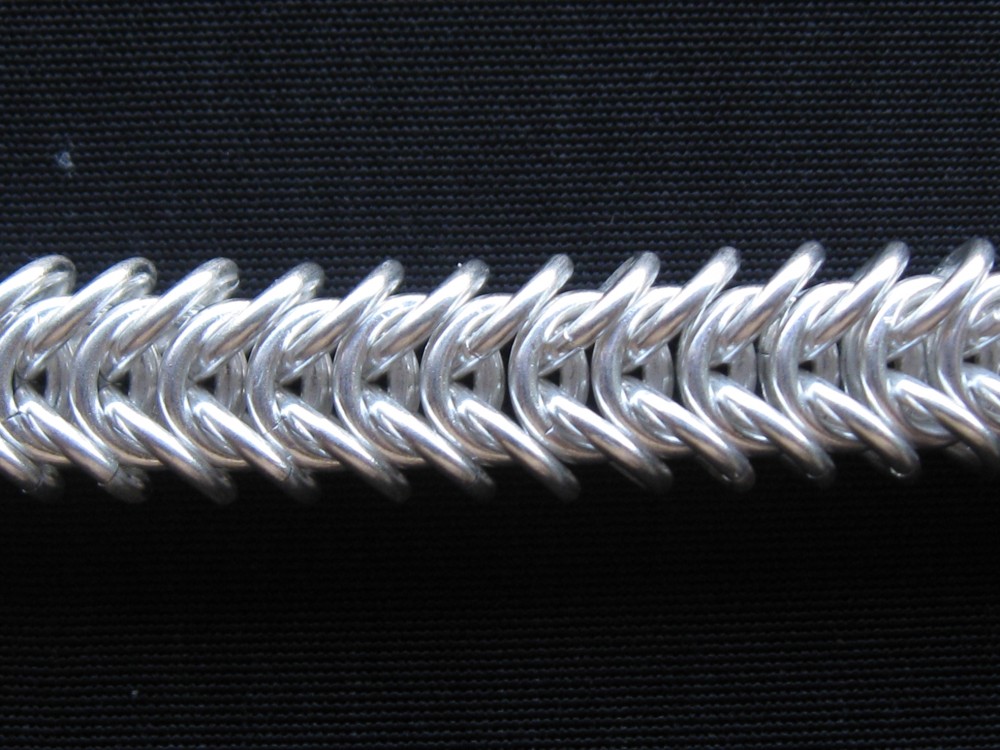
Half Persian 3 in 1 Tutorial
1. Required Tools and Materials
For this tutorial you will need:
- rings with an aspect ratio (AR = inside diameter – ID divided by the wire diameter – WD) of at least 4
- two pairs of pliers without teeth
I will show two ways for the making of this weave, so you may choose the most facile one for you. Also I will use two different size rings, for a loose sheet (WR= 1.68 mm and ID= 8.30 mm) and a tight one (WR= 1.52 mm and ID= 6.25 mm).
2. Step by Step Process
2.1 Facing left Pattern
Put 2 closed rings in one opened ring. Close the ring and arrange the 2 other rings as in the picture (lying on top of each other, from left to right):

We will name the ring that have 2 rings in it, the little boss, and the other rings, the underlings.
Now pass an opened ring through the underlings, going above the little boss:

Add a closed ring to it, so you will have 3 in 1 (the one being the boss) and close it. Make sure the new underling is under the others:


Add a closed ring into an opened one and pass them through the last 2 underlings. Close the link and arrange them as in the picture – boss above boss and underling under underlings (the rule):


Repeat the step:

After a while…

The model gas two faces. If you are doing a tight piece, it will bend only with this face.

2.2 Facing right Pattern
Close 2 rings and put them into one opened ring. Close the ring and arrange them as in the picture (the underlings on top of each other, from left to right):

Put a closed ring in an opened ring and pass through the underlings. Close the link and arrange them by the rule:


Repeat the step:


After a while…

If you have some rebels rings at the beginning of the sheet, you may want to remove and add a smaller ring for the clasp (in case you are making a bracelet or a necklace). The result will be a nice pattern:

And the bending face:

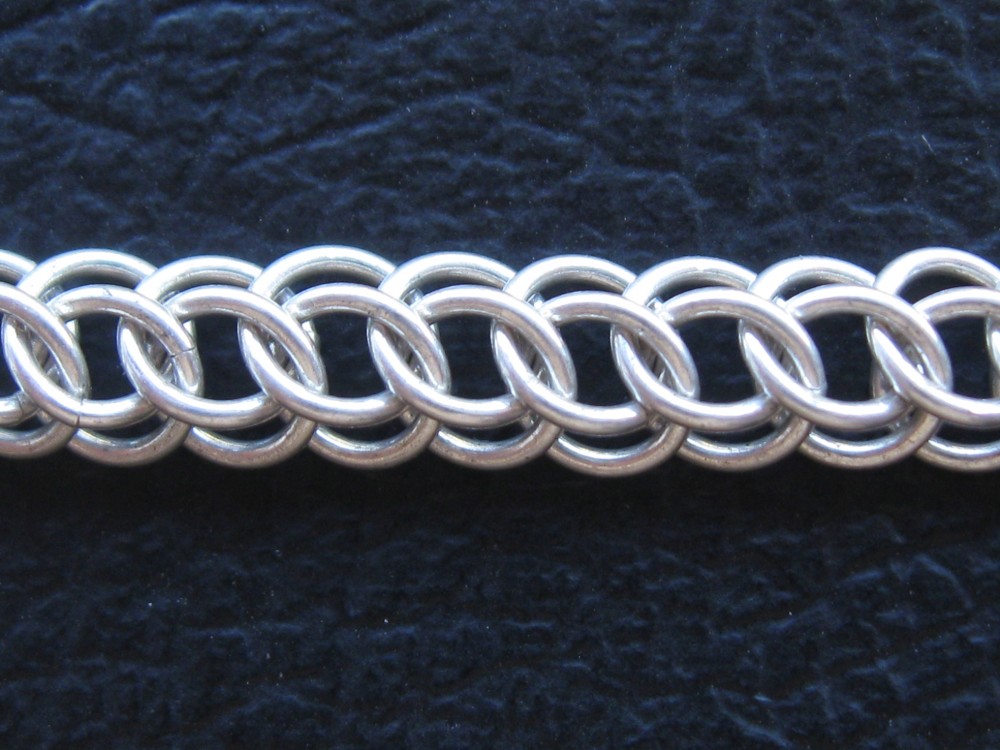
3. Conclusion
Here is a silver half persian 3 in 1 bracelet (WR=0,67 and ID is 3,37) with two faces:


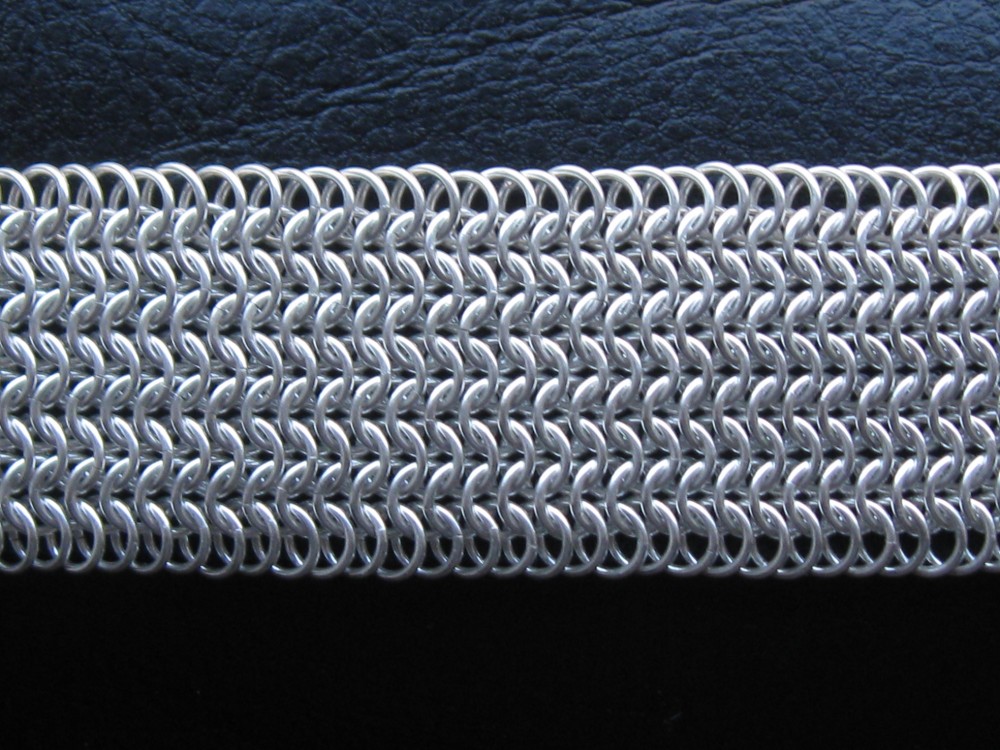
European 6 in 1 Weave Tutorial
1. Required Tools and Materials
For this tutorial you will need:
- rings with an aspect ratio (AR=inside diameter(ID) divided by the wire diameter) of at least 5 (best looking)
- two pairs of pliers, depends on the size of the rings Continue reading European 6 in 1 Weave Tutorial