I will show you two methods for the making of this weave.

1. Required Tools and Materials
For this tutorial you will need:
- rings with an aspect ratio (AR= inner diameter – ID divided by the wire diameter – WD) of at least 3,8
- two pairs of chain nose pliers
For both methods, I will use rings with WR=0,95 mm and ID=4 mm.
2. Step by Step Process
2.1. The first method
Put 4 closed rings into one opened ring:

Close the ring and add another one near it, going again through the 4 rings:

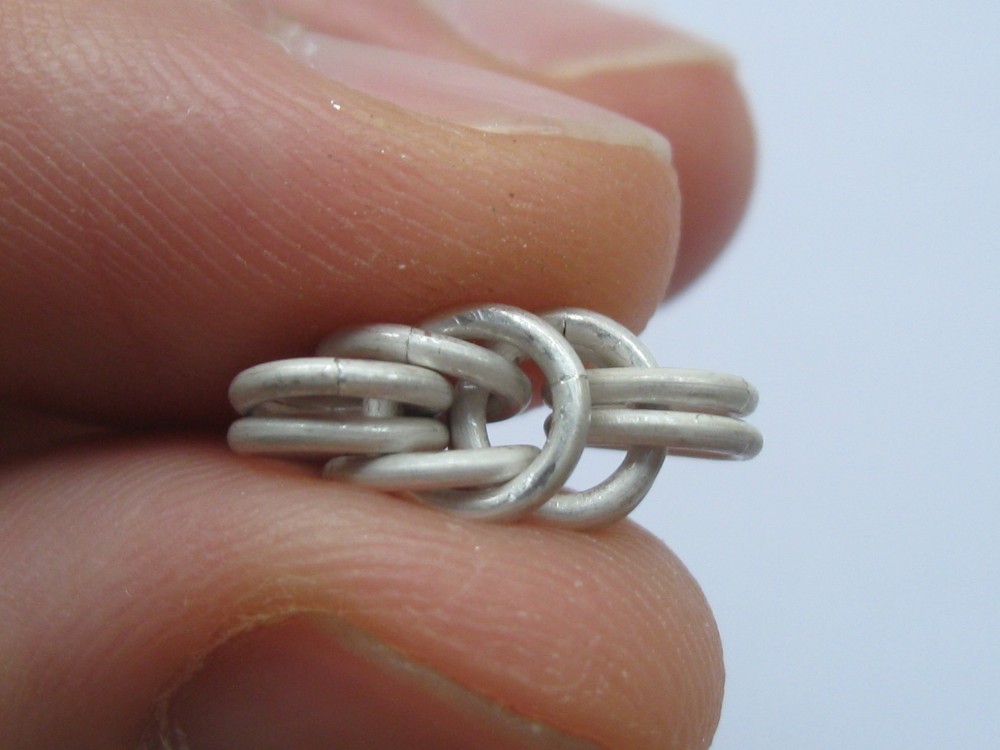
Arrange them into 2-2-2 chain:

Spread the rightmost 2 rings apart and pass a ring through them, between the middle ones. I put 2 pictures, from 2 sides of the piece for a better understanding:


Add another one near the last ring, going the same way as before:

Add 2 rings, going through the last 2 ones:
Observe that a 2-2 chain has formed. Again spread the rightmost 2 rings, until they touches the back rings. Pass a ring through them, between the middle ones:

Add another one near the last ring, going the same way as before. I took a picture with the other side of the piece for a better understanding:

Again add 2 rings, going through the last 2 ones:

Every time you have a 2-2 piece you repeat the spreading rings step, followed always by the adding 2 rings step. Continue:

You will observe that the piece has the tendencies to change his shape. To reduce this bad habit you can add another ring at the beginning of the piece. If you make a tight weave (~4 aspect ratio) the piece will be stable when you finish it with 4 rings. I put pictures from the 2 sides of the piece for a better understanding:


2.2. The second method
I recommand the first method because is easier and faster. But if you have a piece of 4 in 1 and you want to transform it in box chain, this method will do fine. Also you will learn to make european 4 in 1.
Put 4 rings into one opened ring. Close it and arrange the rings as show in the picture:

Pass an opened ring through the 2 bottom ones. Add another 2 rings, close it, and arrange them as showed below:


It’s called 4 in 1, because the center links have always 4 rings in them. If you want to add more links you will pass an opened ring through the last 2 ones and add 2 more, in order to have 4. Repeat this steps:

We shall name the center links, the bosses, and the rings in them, the underlings.
Now bring the last 2 underlings together and fold the ones above as showed in the picture:

Pass a ring through the 4 underlings you just moved and close it:

Fold the next above underlings the same way as before:

Pass a ring through them and the previous folded ones. If you find it difficult, flat the rings with your fingers, so that the links will self arrange well:

And repeat the steps. Fold the next above 2 underlings and pass a ring through the 4 underlings neighbours.
3. Conclusion
Here is a fine silver box chain bracelet:


For the full piece, you can check out my Esty store.